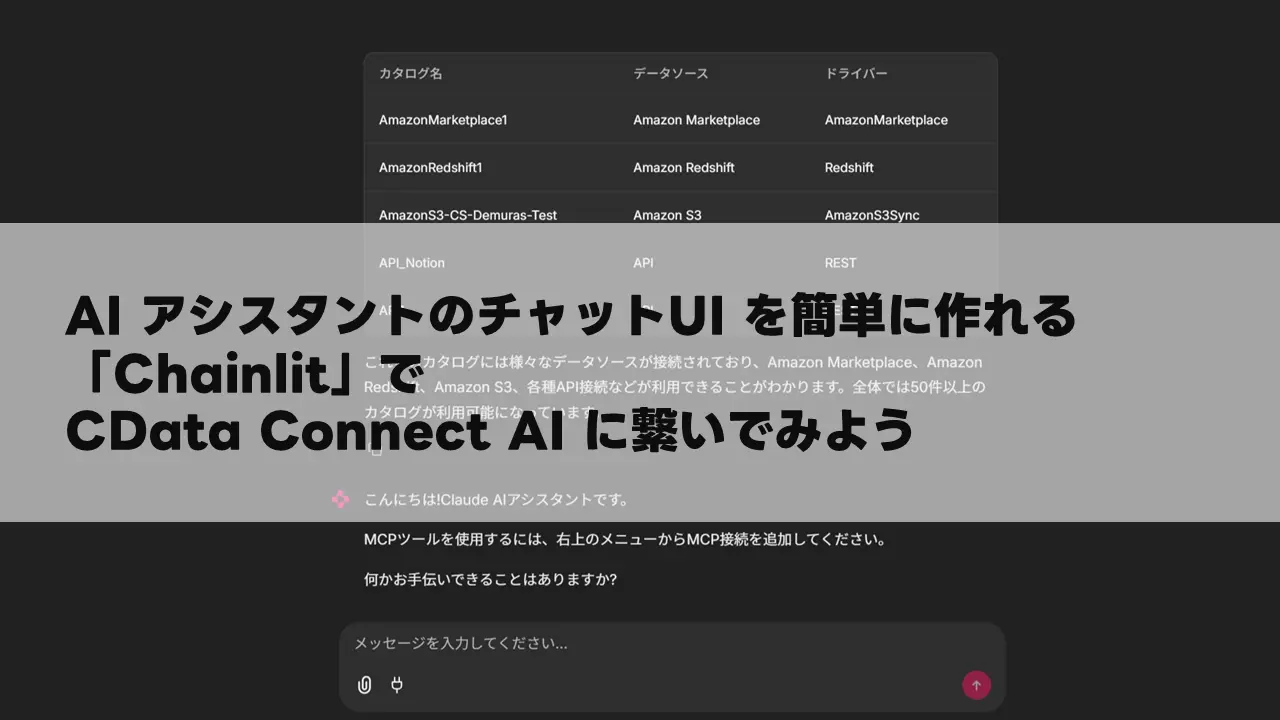
こんにちは! CData Software Japan リードエンジニアの杉本です。
今回はChainlit というAI アシスタントのUI を簡単に作れるPython フーレムワークを使って、マネージドMCP プラットフォームの「CData Connect AI」に繋がるAI アシスタントを作成する方法を紹介したいと思います。
最終的な画面イメージは以下のような感じです。接続先にはkintoneを利用しました。
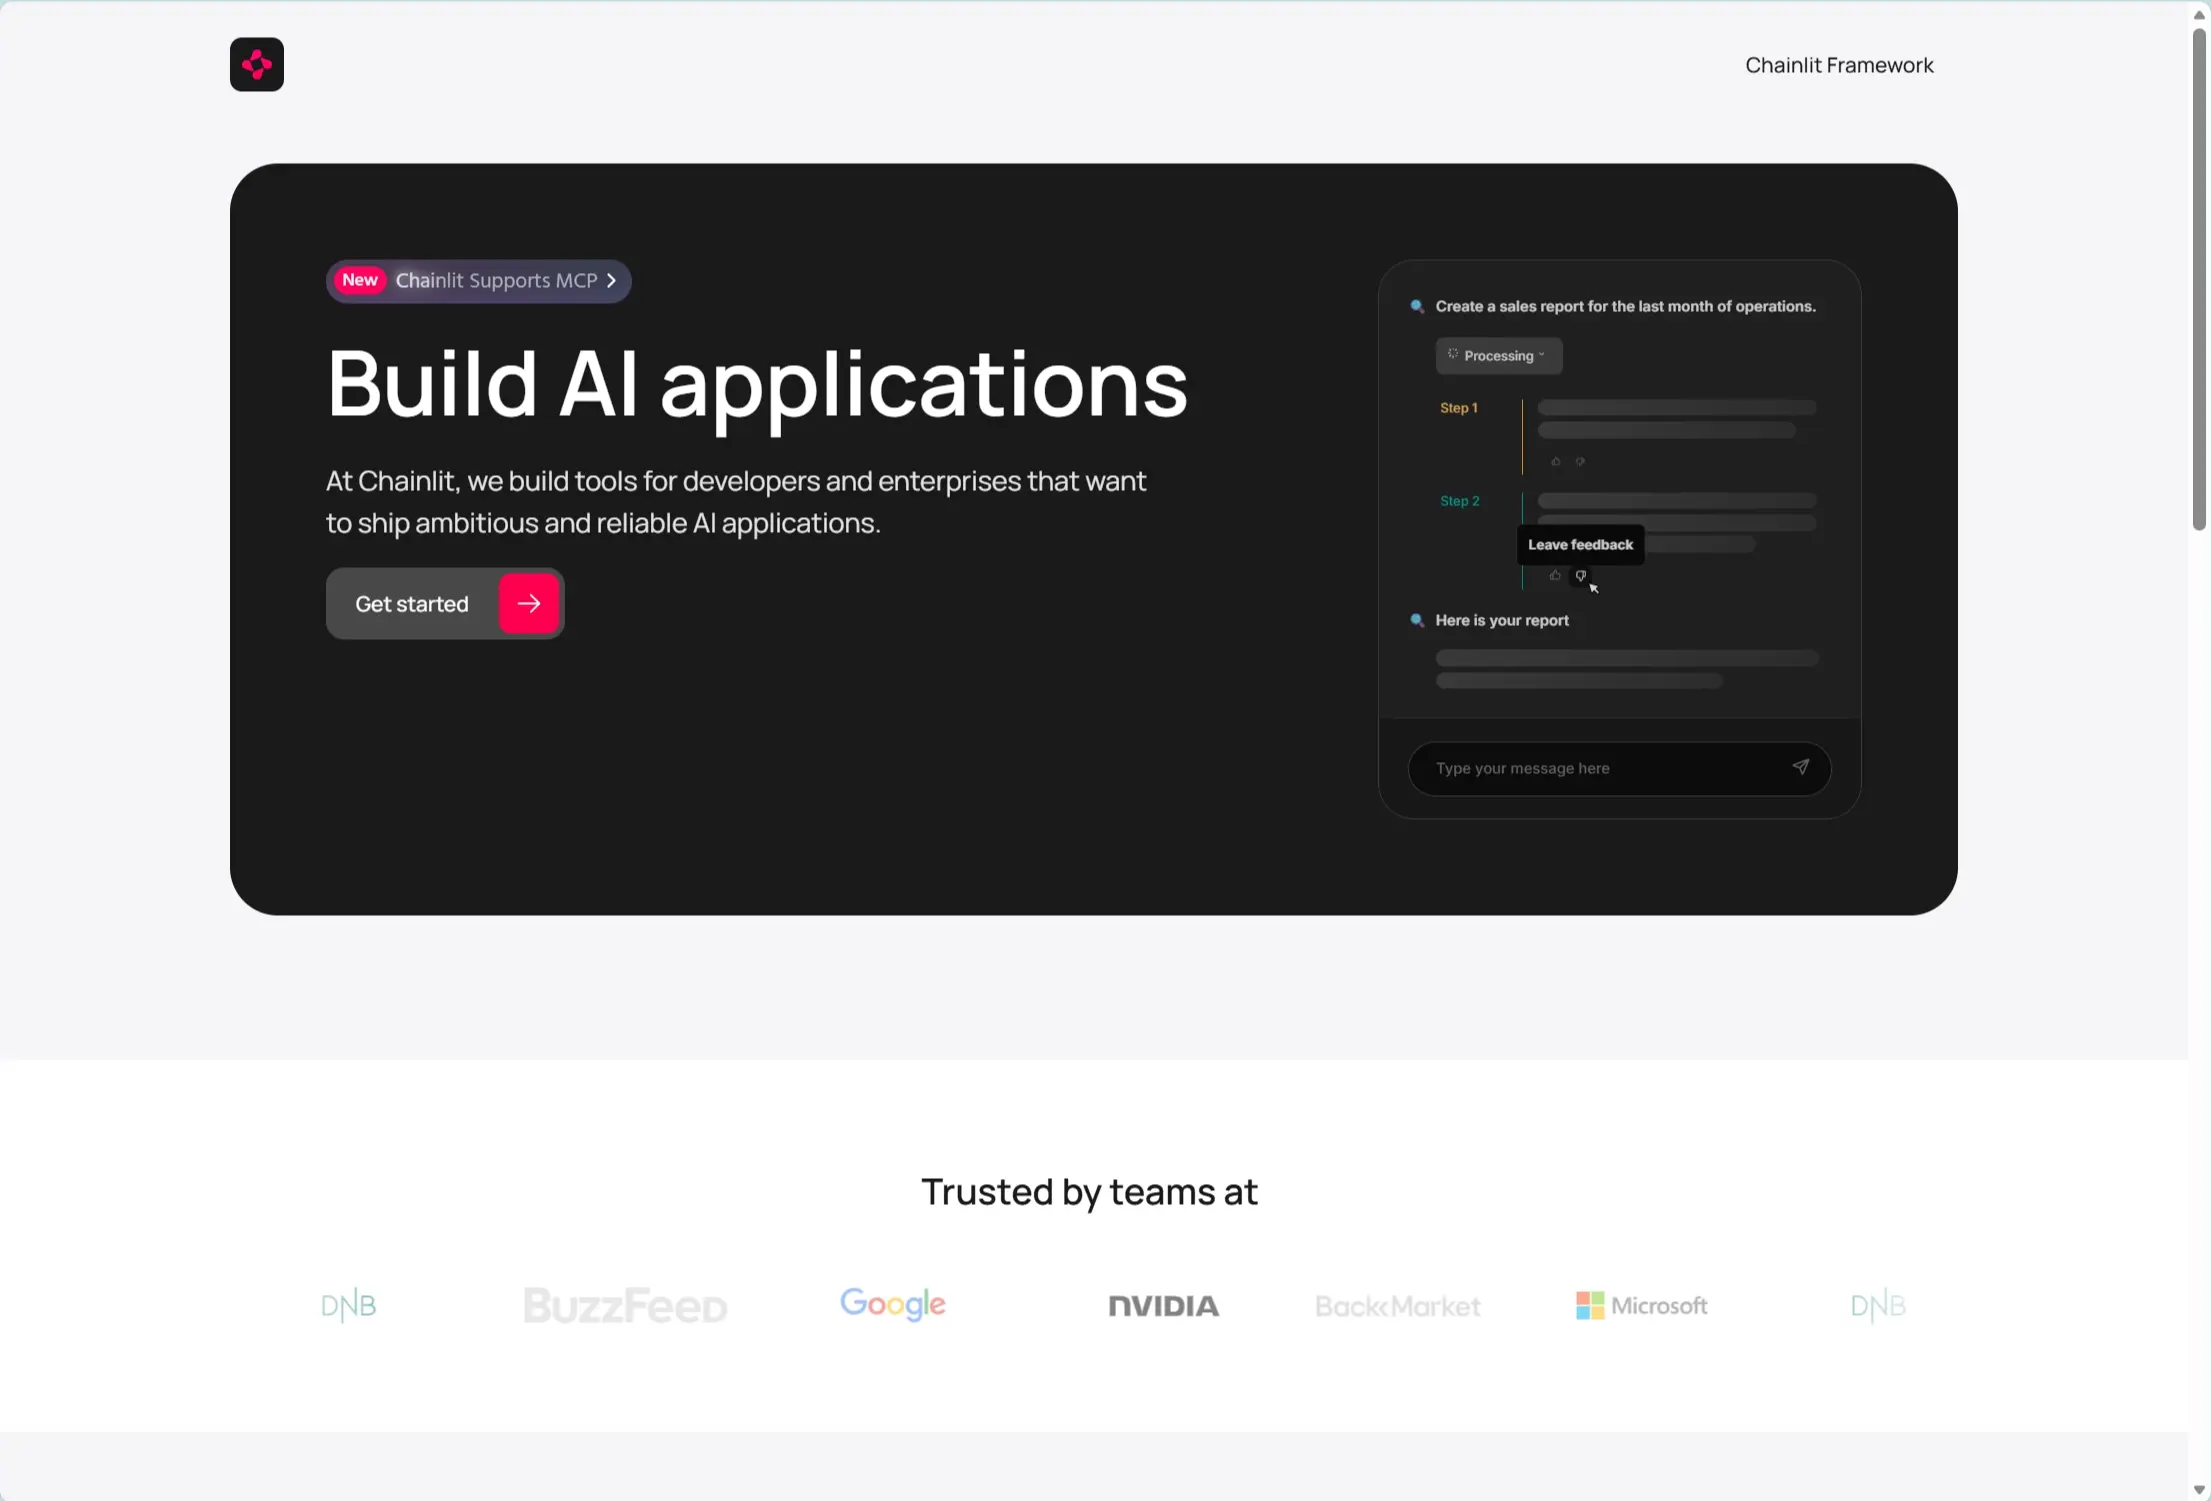
Chainlit とは?
前述の通り、チャットベースのUI・AI アシスタントを作成するためのPython ベースのUI フレームワークです。
https://chainlit.io/
昨今数多くのAI サービスがリリースされる中で、Microsoft AI Foundry やAWS Bedrock を使って独自のAI エージェントやAI アシスタントを作って社内に展開しようという方は結構いらっしゃるのではないかと思います。
ただ、その時にエンドユーザー向けのインターフェースとしてUI をどのように構築するかは悩ましいことが多いですよね。
そこでこのChainlit を使うことで、少ないソースコードでシンプルにチャットUI を構築し、AI の機能を組み込むことが可能になります。
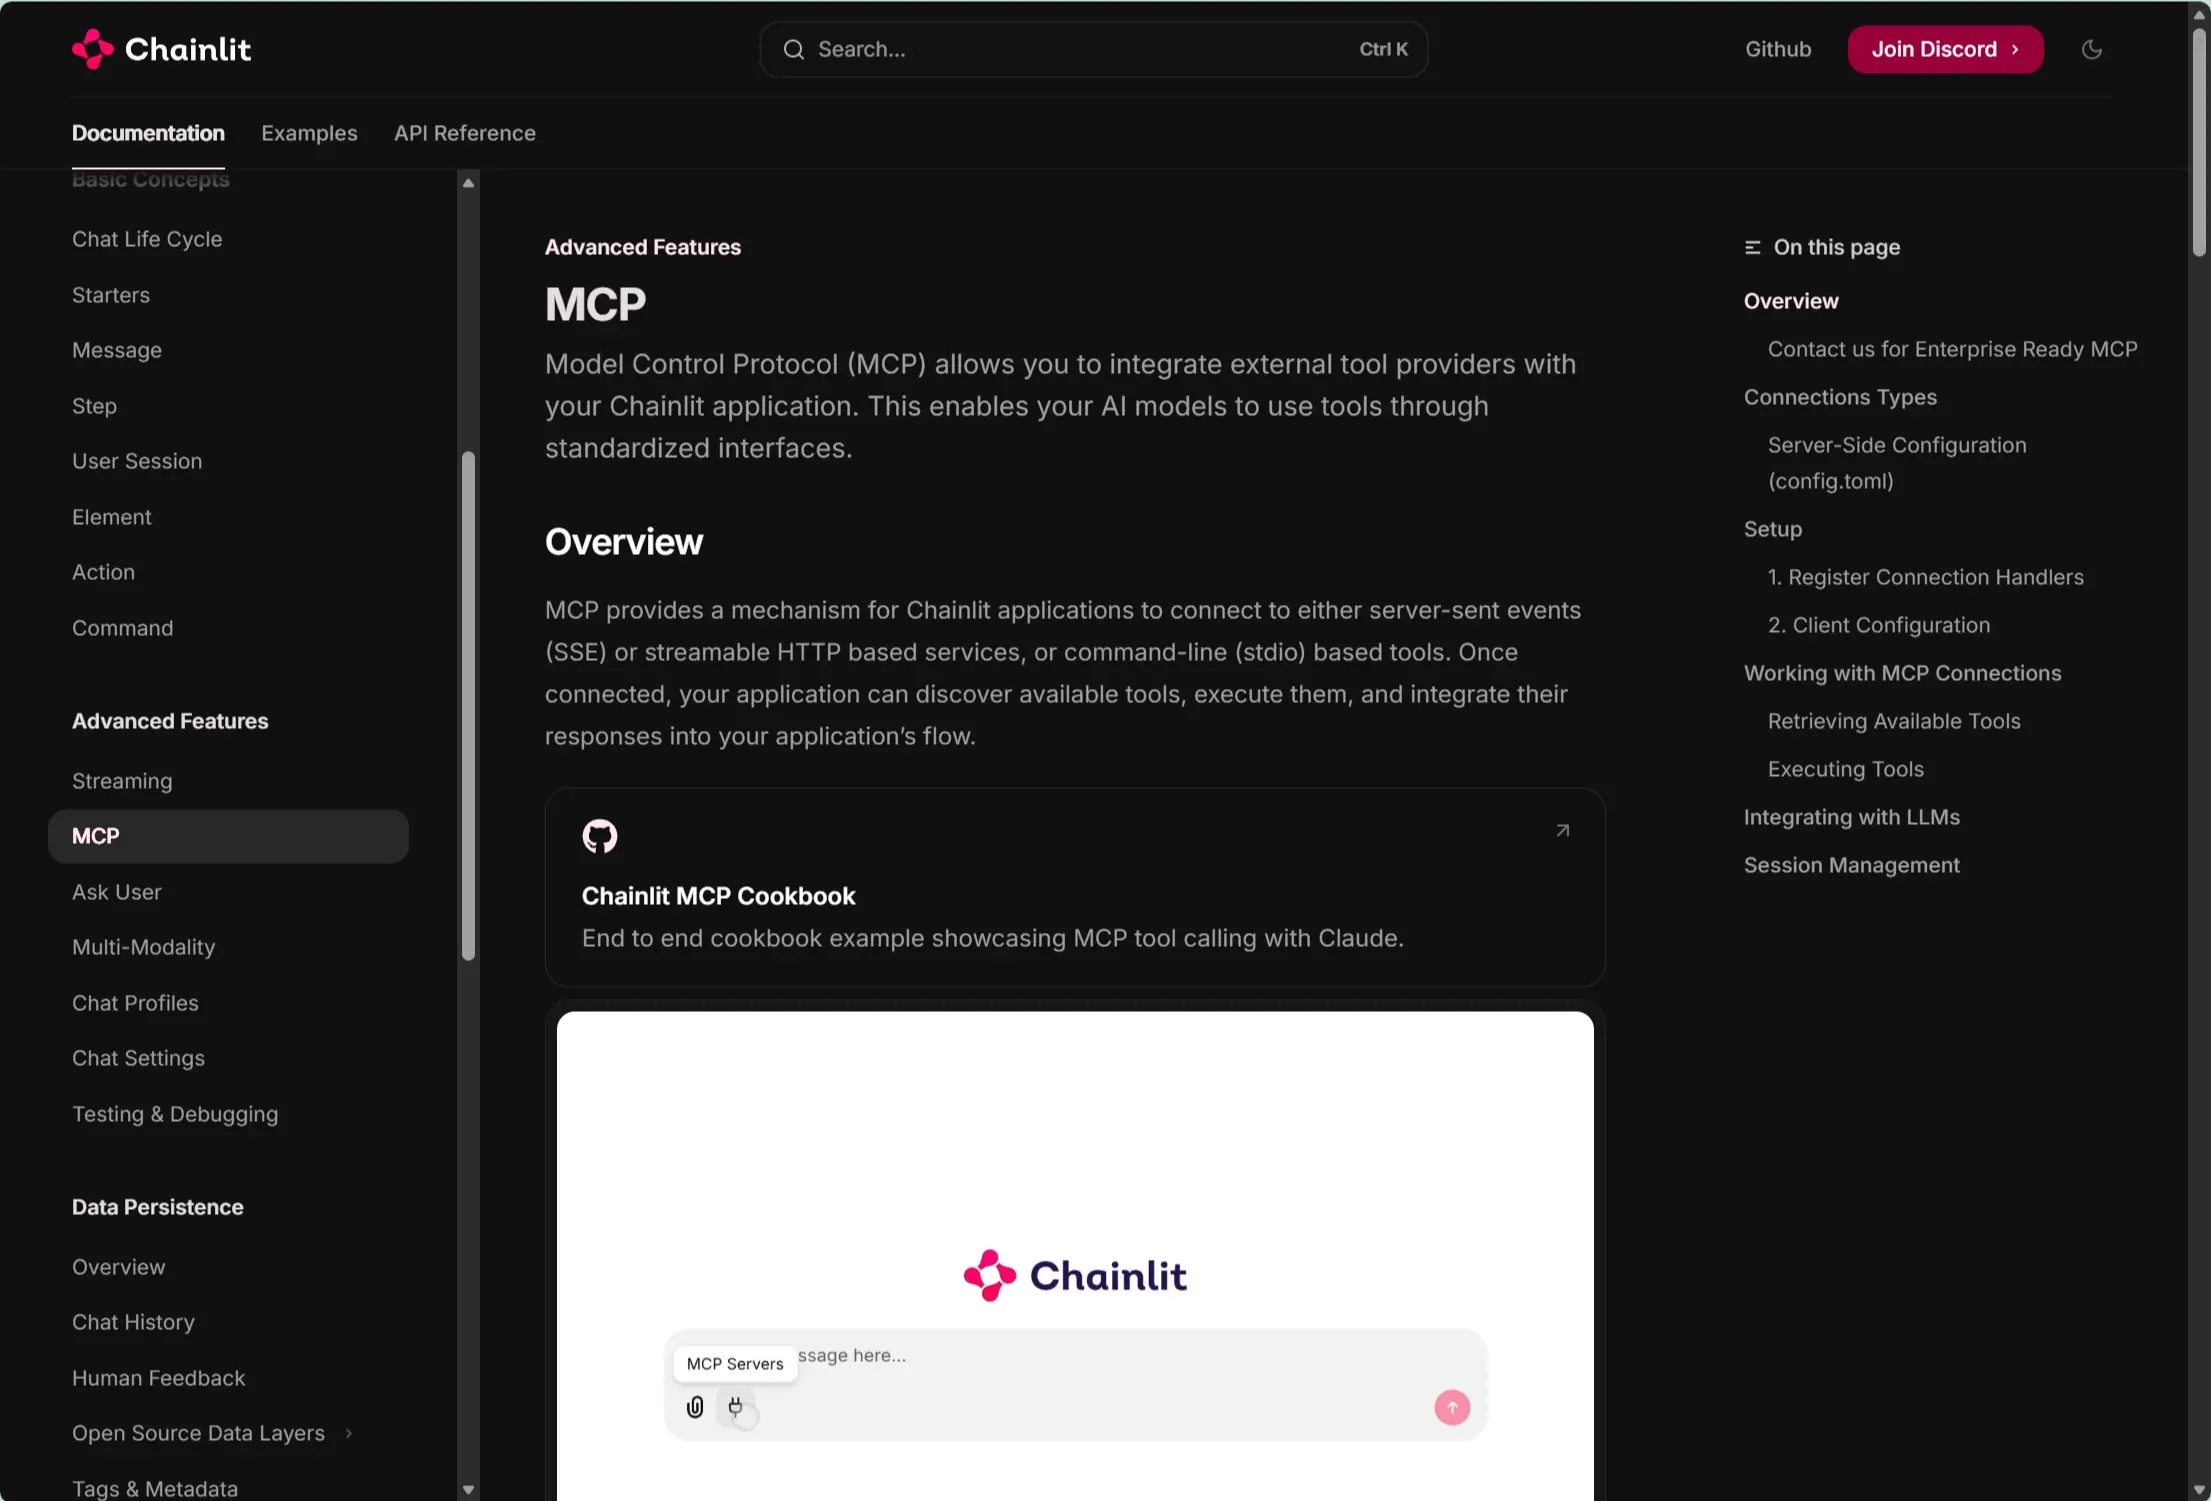
さらにChainlit の素晴らしい点はただのチャットUI フレームワークというだけではなく、昨今のLLM に求められるマルチモーダル的な拡張やMCP 機能の追加などをフレームワークとして備えている点です。
https://docs.chainlit.io/advanced-features/mcp
そこで今回はこのChainlit とMCP の拡張機能を利用して、CData Connect AI と繋がるAI アシスタントをサクッと作ってみたいと思います。
CData Connect AI とは?
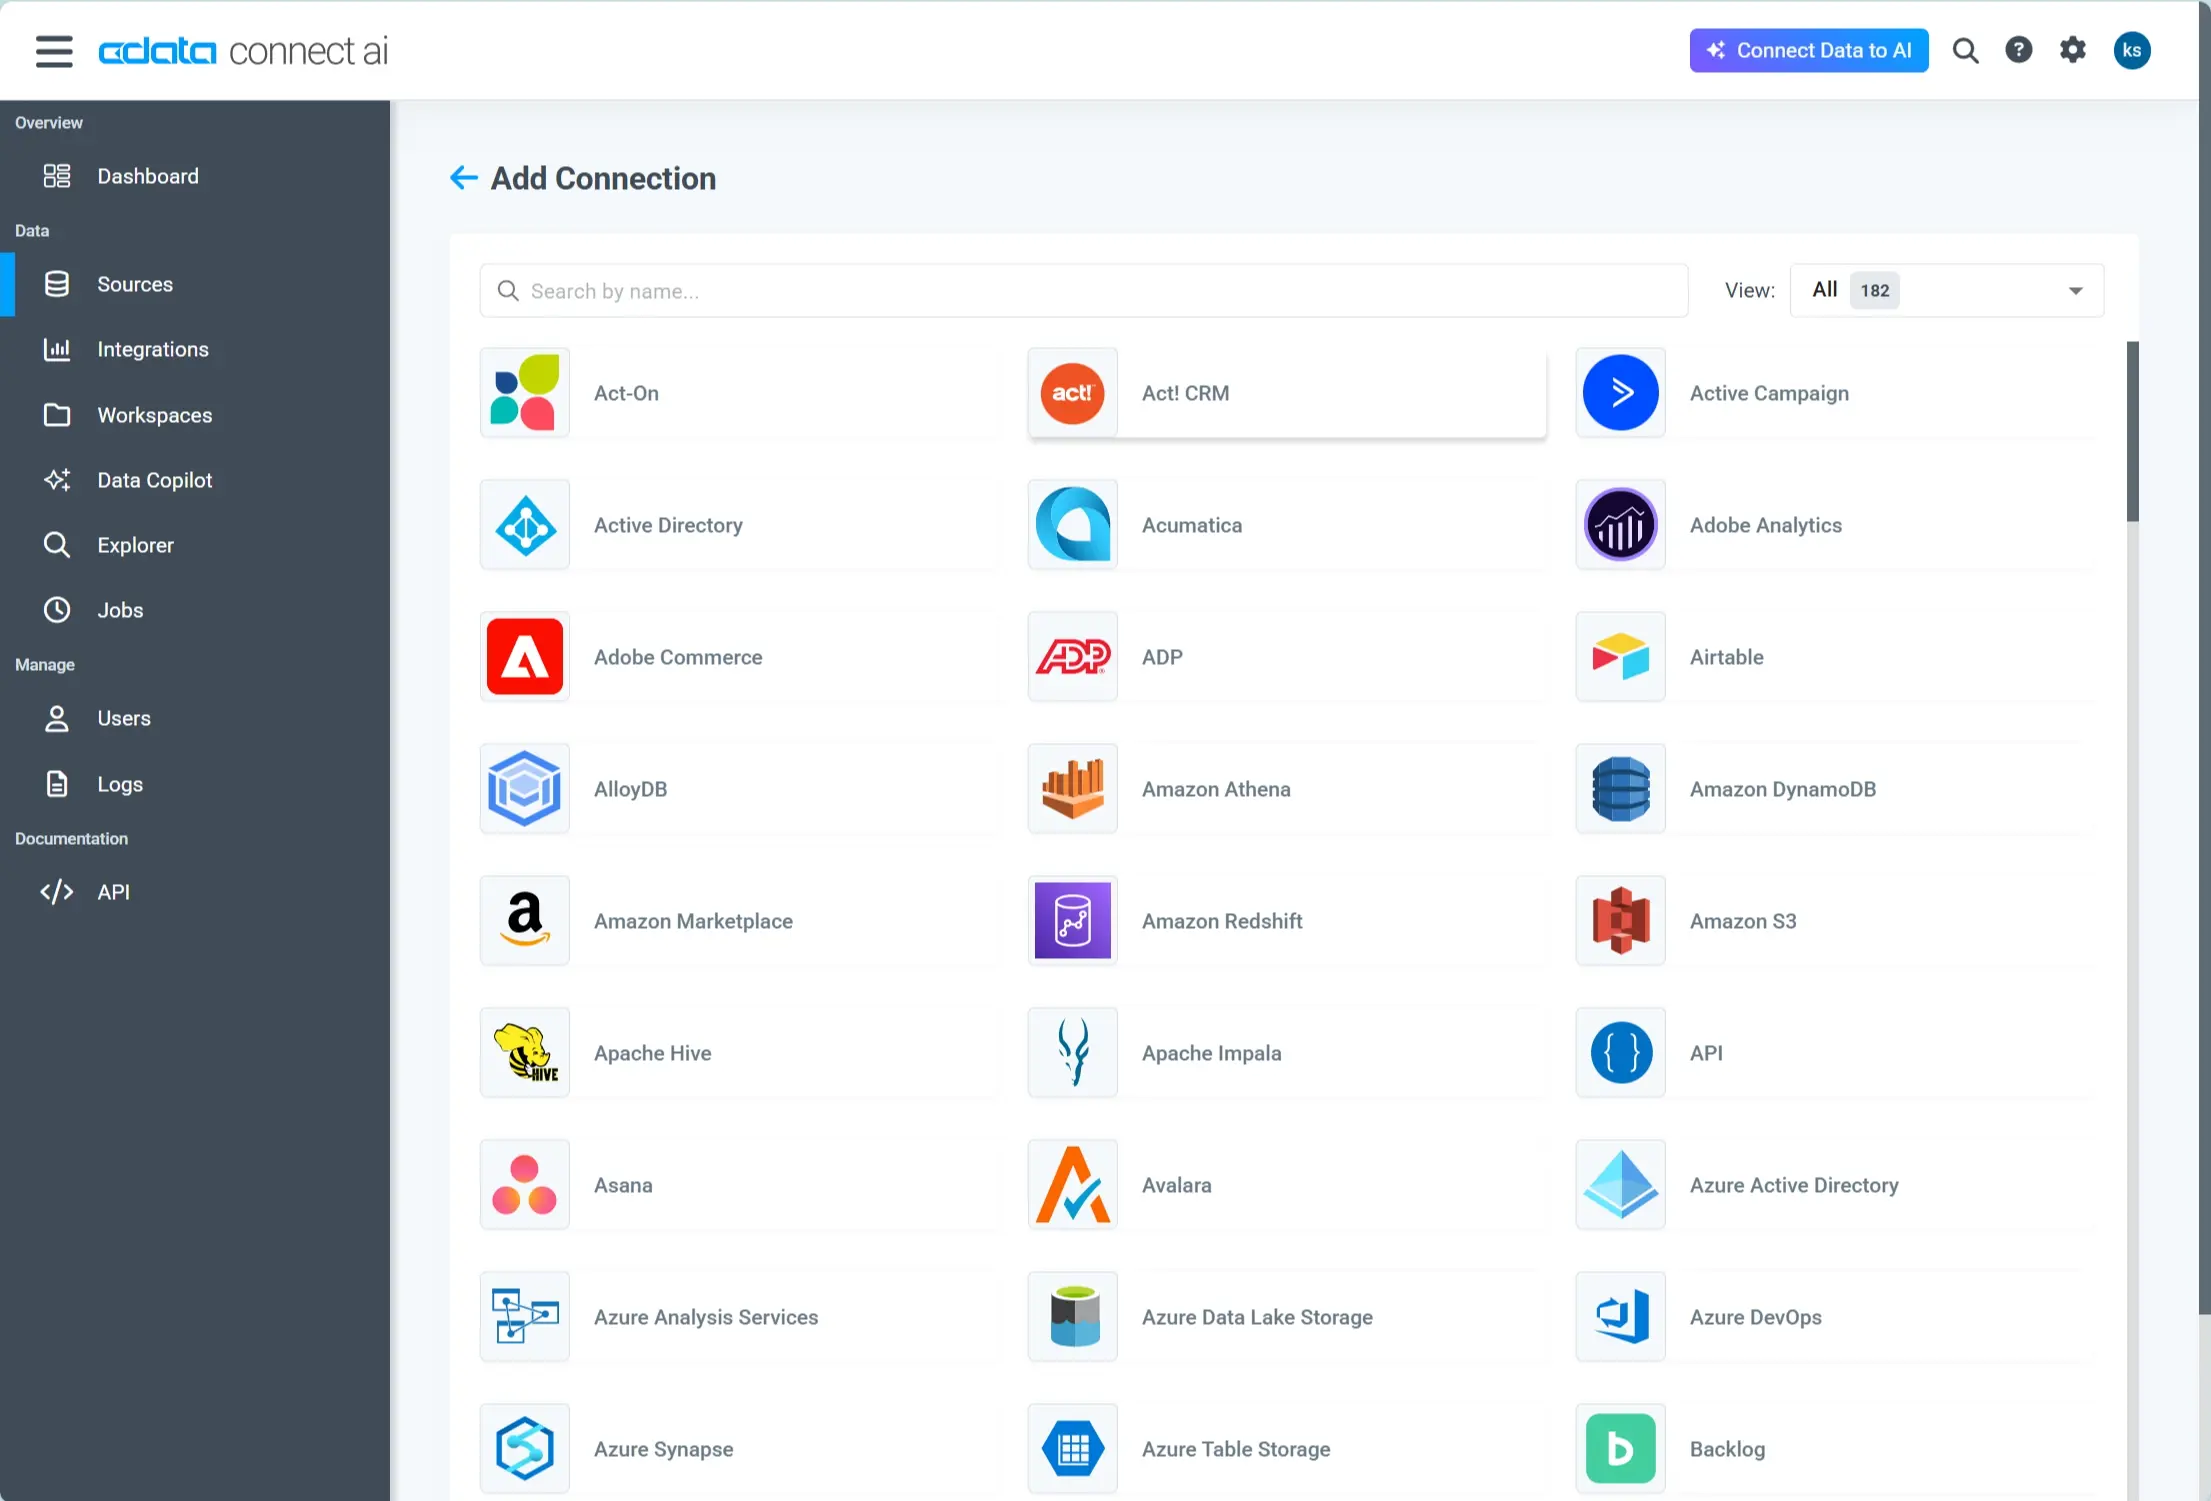
CData Connect AI はSalesforce やkintone、SQL Server などに接続可能なリモートMCP サービスをフルマネージドで構成できるクラウドサービスです。
https://jp.cdata.com/ai/

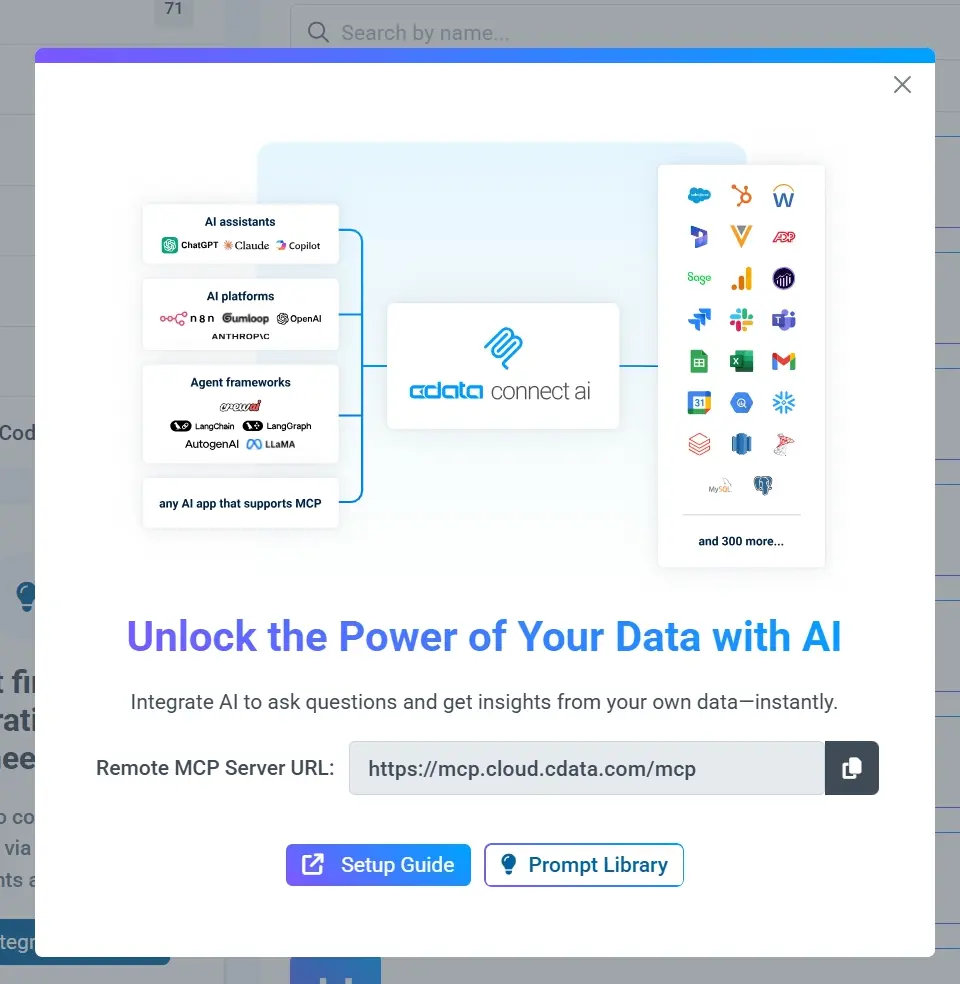
以下のような画面から接続したいデータソースを選択し
接続情報を設定
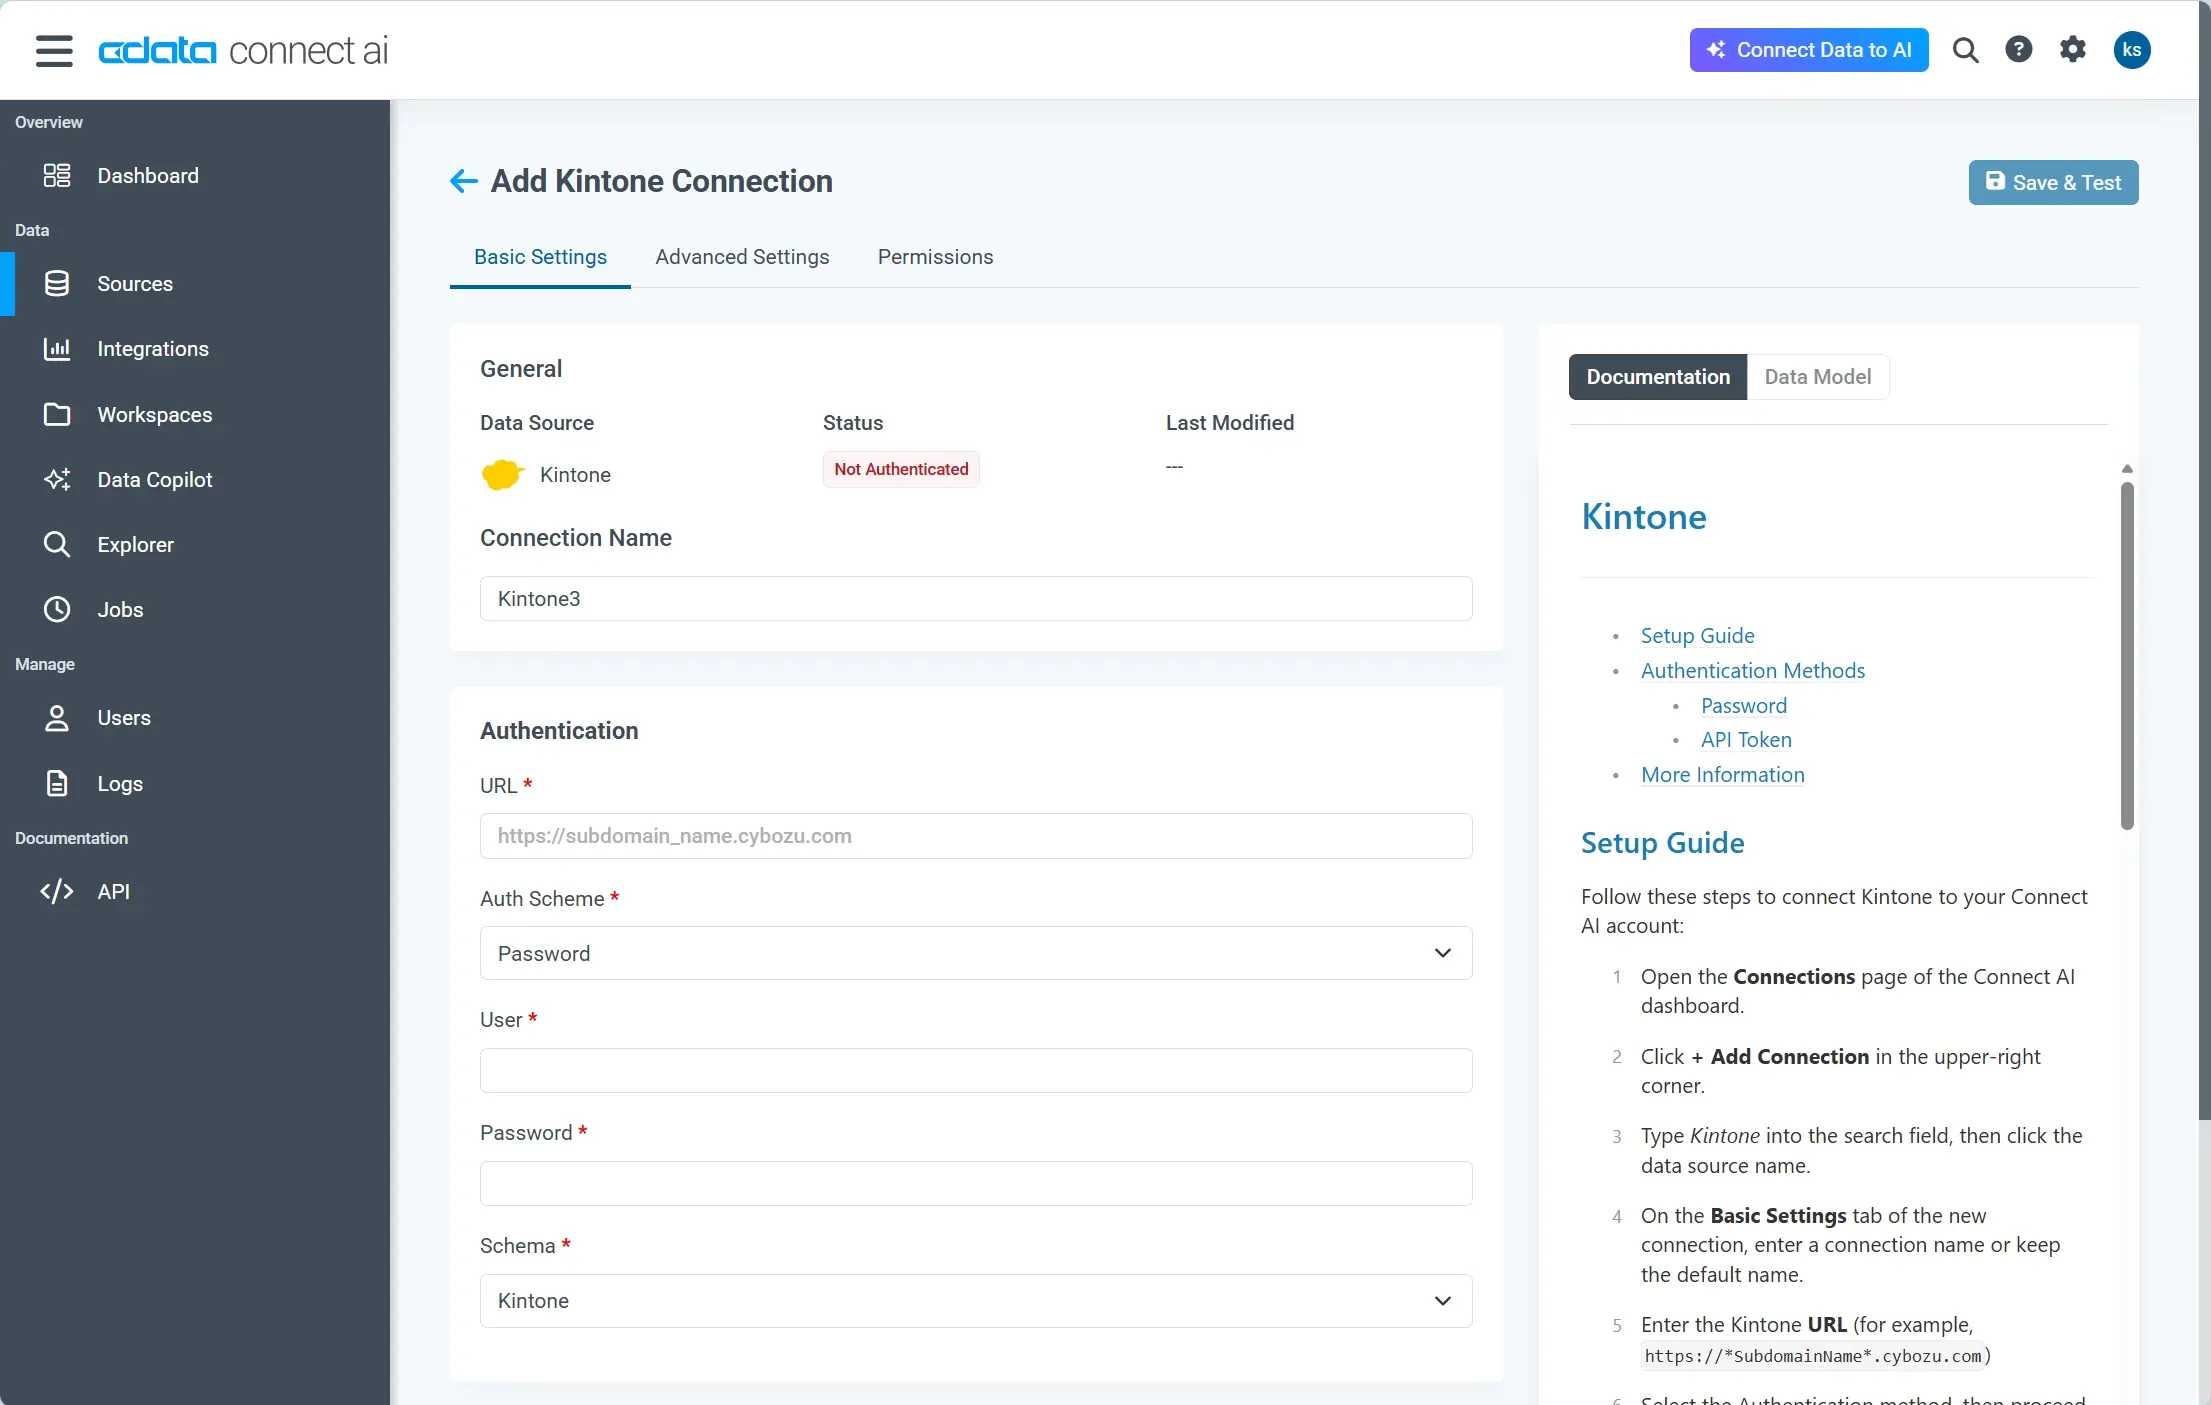
あとは、Remote MCP Server のURL を使うだけで、任意のAI アシスタントやAI エージェントに各種データソースに接続可能なMCP ツールを設定することができます。
Chainlit 環境構築
それでは早速Chainlit の環境構築を始めていきましょう!
Chainlit は2025年12月時点では「python>=3.9」のバージョンが必要です。
サンプルコードは以下にアップしています。
https://github.com/sugimomoto/ChainlitMCP
とりあえずサンプルコードを動かしてみます。対象のリポジトリをCloneしてPython の仮想環境を作成しアクティベート、必要なpipをインストールします。
gh repo clone sugimomoto/ChainlitMCP

cd ChainlitMCP

python -m venv venv

.\venv\Scripts\activate.bat

pip install -r requirements.txt
今回はClaude のAPI を利用しているので、「.env」にAPI Key を設定します。
ANTHROPIC_API_KEY=sk-ant-apiXXXXXXXXXXXXXXXXXXXXXXXX
Chainlit は「.chainlit/config.toml」という構成ファイルで機能の有効化を管理しています。CData Connect AI のリモートMCP は「streamable-http」で接続できるのでこれを有効化する設定を追加しておきます。
[features.mcp]
    # Enable Model Context Protocol (MCP) features
    enabled = true

[features.mcp.sse]
    enabled = true

[features.mcp.streamable-http]
    enabled = true

[features.mcp.stdio]
    enabled = true
    # Only the executables in the allow list can be used for MCP stdio server.
    # Only need the base name of the executable, e.g. "npx", not "/usr/bin/npx".
    # Please don't comment this line for now, we need it to parse the executable name.
    allowed_executables = [ "npx", "uvx" ]
あとはChainlit を実行するだけです。ちなみにChainlitの実行は「chainlit run app.py -w」というchainlitコマンドで実行するので、VS Code から実行する場合はlaunch.jsonをカスタマイズしておくと手軽に実行できます。
{
    // Use IntelliSense to learn about possible attributes.
    // Hover to view descriptions of existing attributes.
    // For more information, visit: https://go.microsoft.com/fwlink/?linkid=830387
    "version": "0.2.0",
    "configurations": [
        {
            "name": "Python Debugger: Current File",
            "type": "debugpy",
            "module": "chainlit",
            "request": "launch",
            "console": "integratedTerminal",
            "env": {
                "PYTHONPATH": "${workspaceFolder}",
            },
            "args": [
                "run",
                "${file}",
                "--port",
                "8000"
            ]
        }
    ]
}
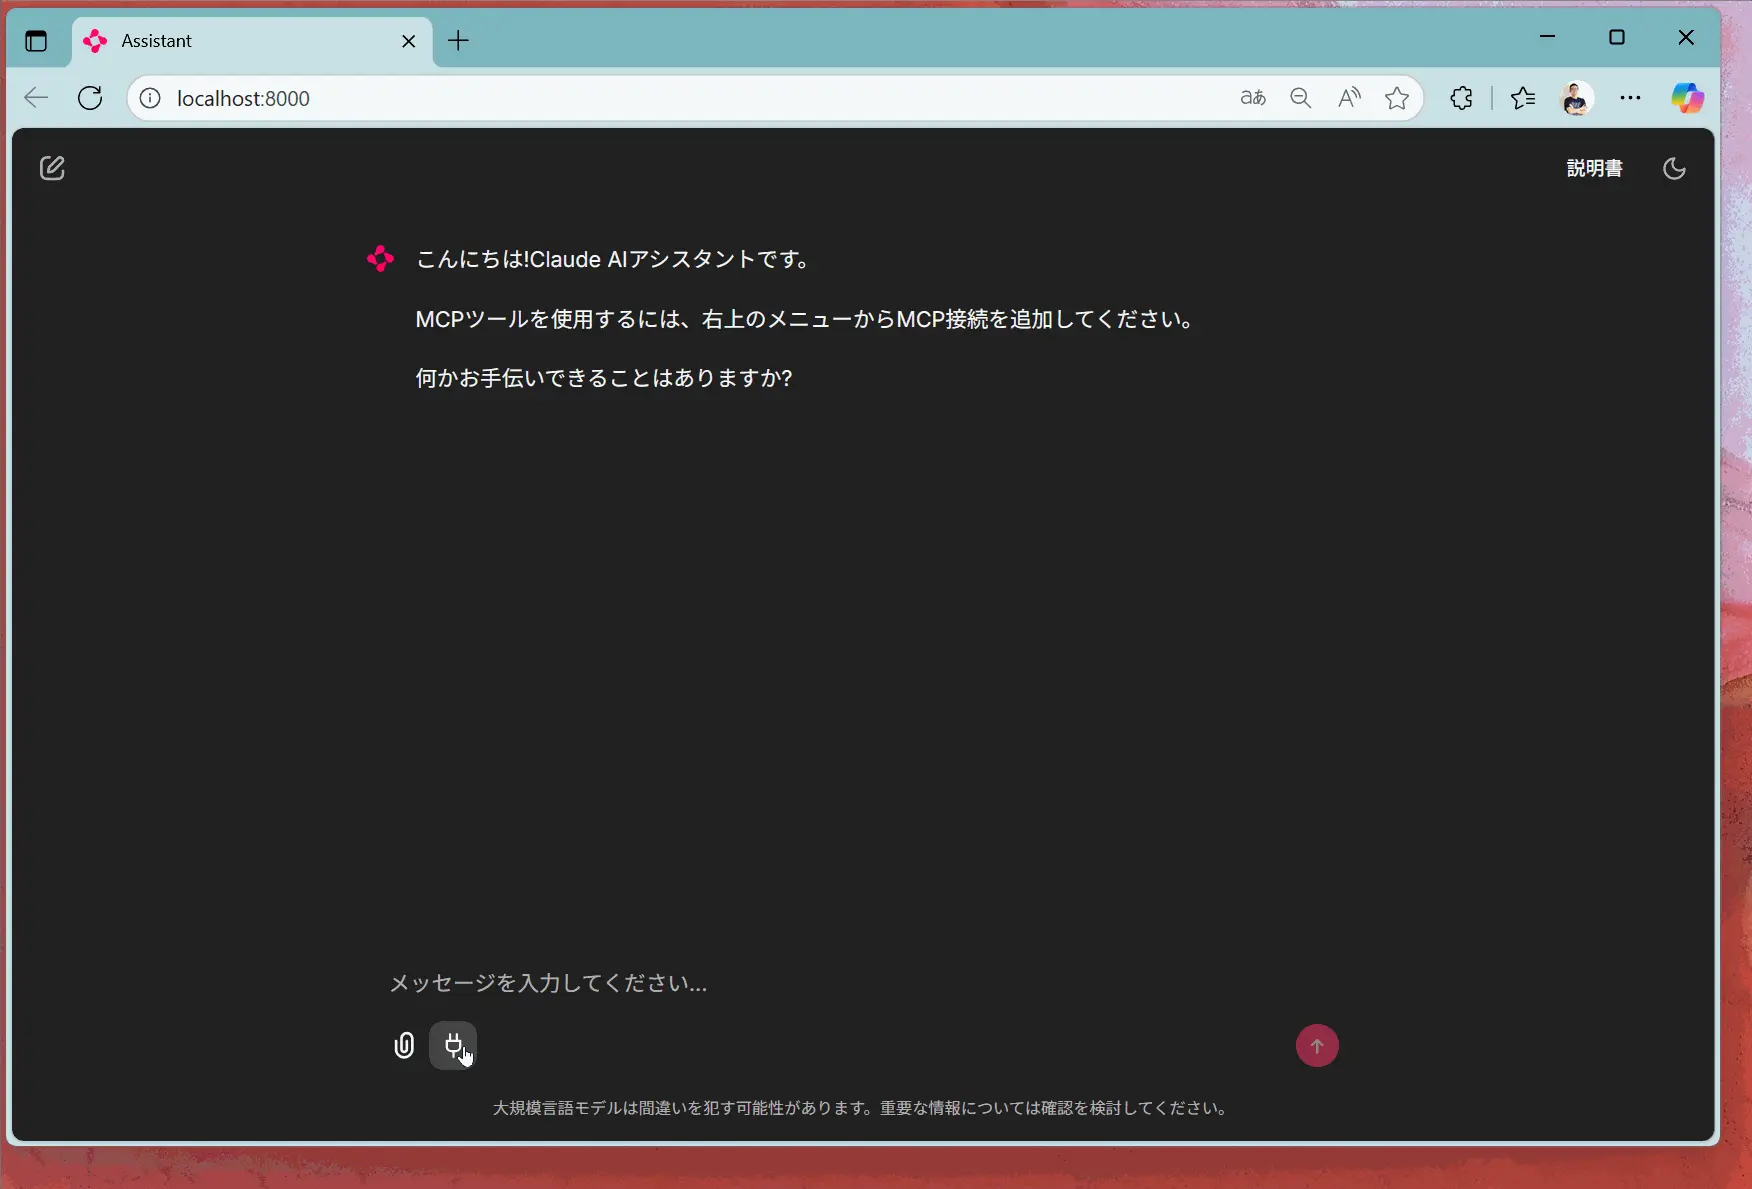
これでデバッグすることで以下のような画面が立ち上がります。MCP の追加はチャット欄の電源プラグから実施できます。

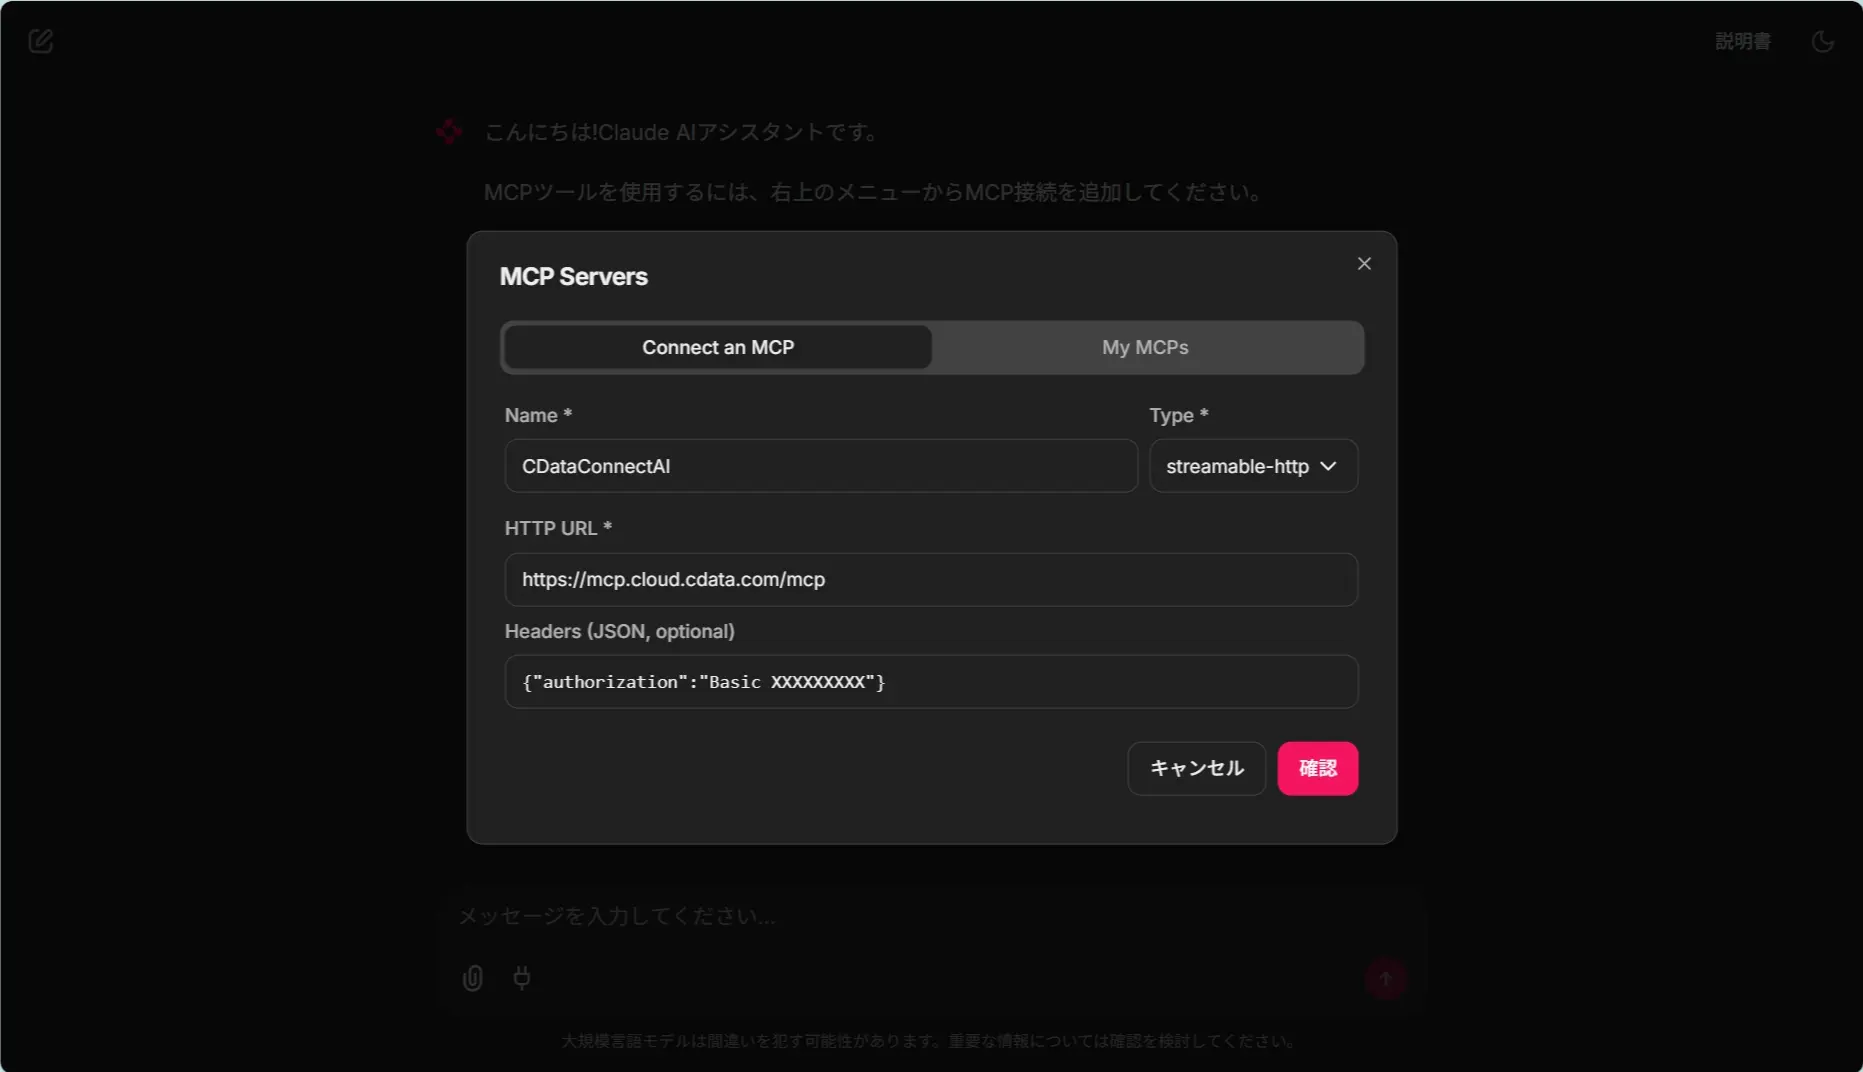
MCP の追加で「streamble-http」のMCP を設定しましょう。HTTP URL は「https://mcp.cloud.cdata.com/mcp」を指定し、Headers はBasic 認証で接続します。Basic 認証に利用するパスワードはConnect AI の画面からAPI Token を発行しておき、ログインユーザーメールアドレスと合わせて生成しておきます。
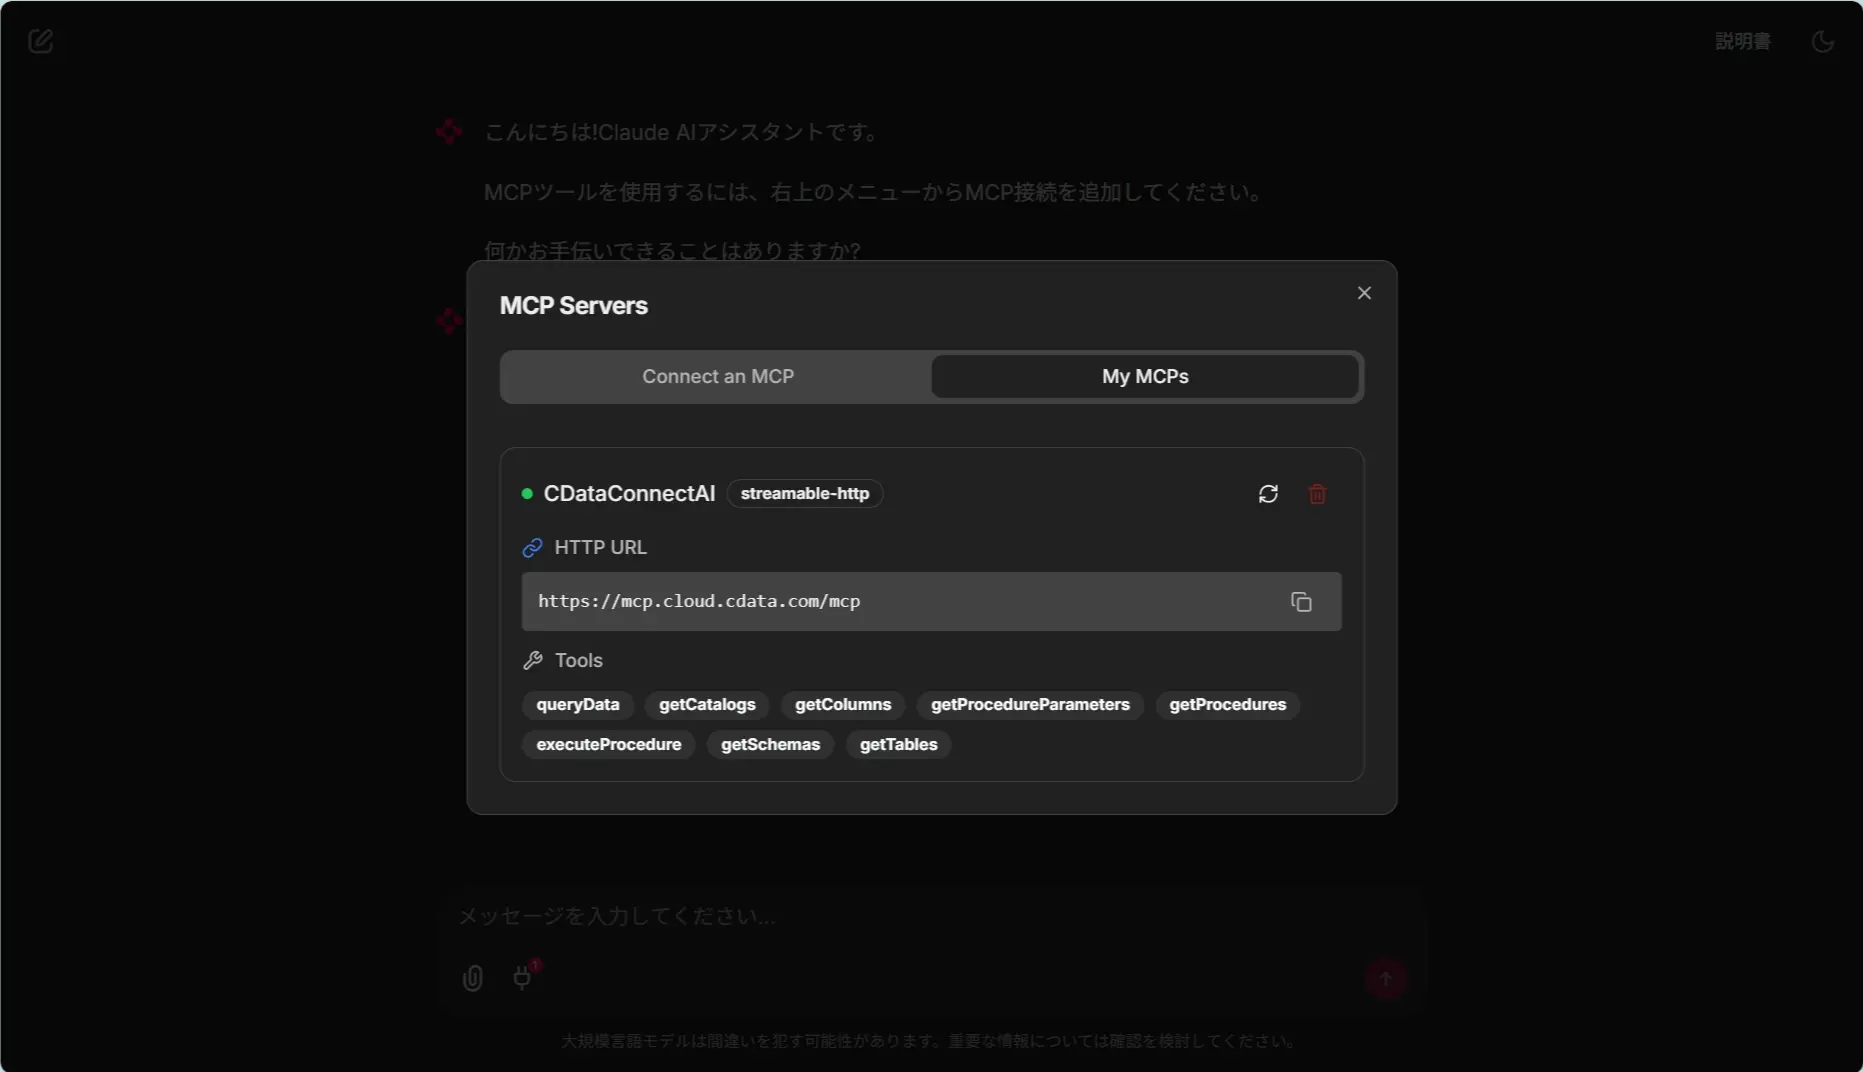
これで以下のように接続が完了します!ツールの一覧も表示されて良いですね。
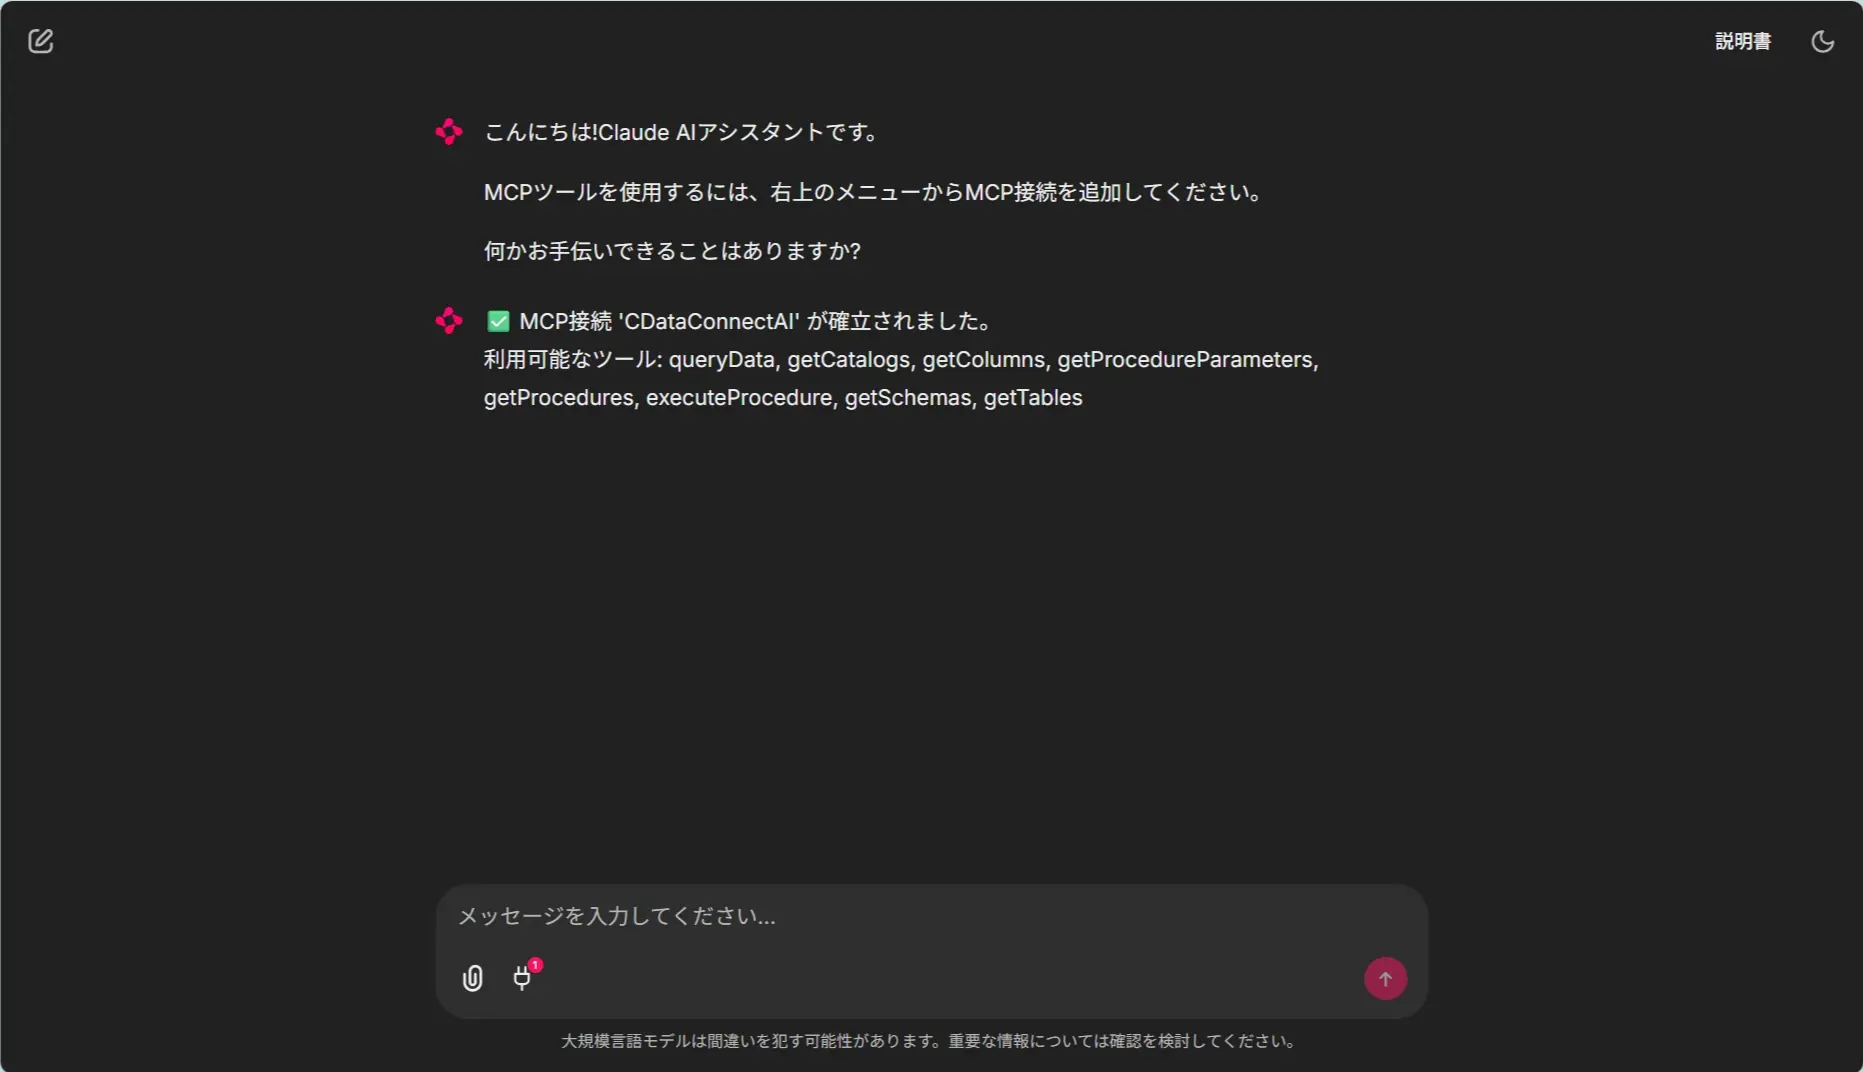
以下のようにコネクションが確立されたというメッセージも出るようにしています。
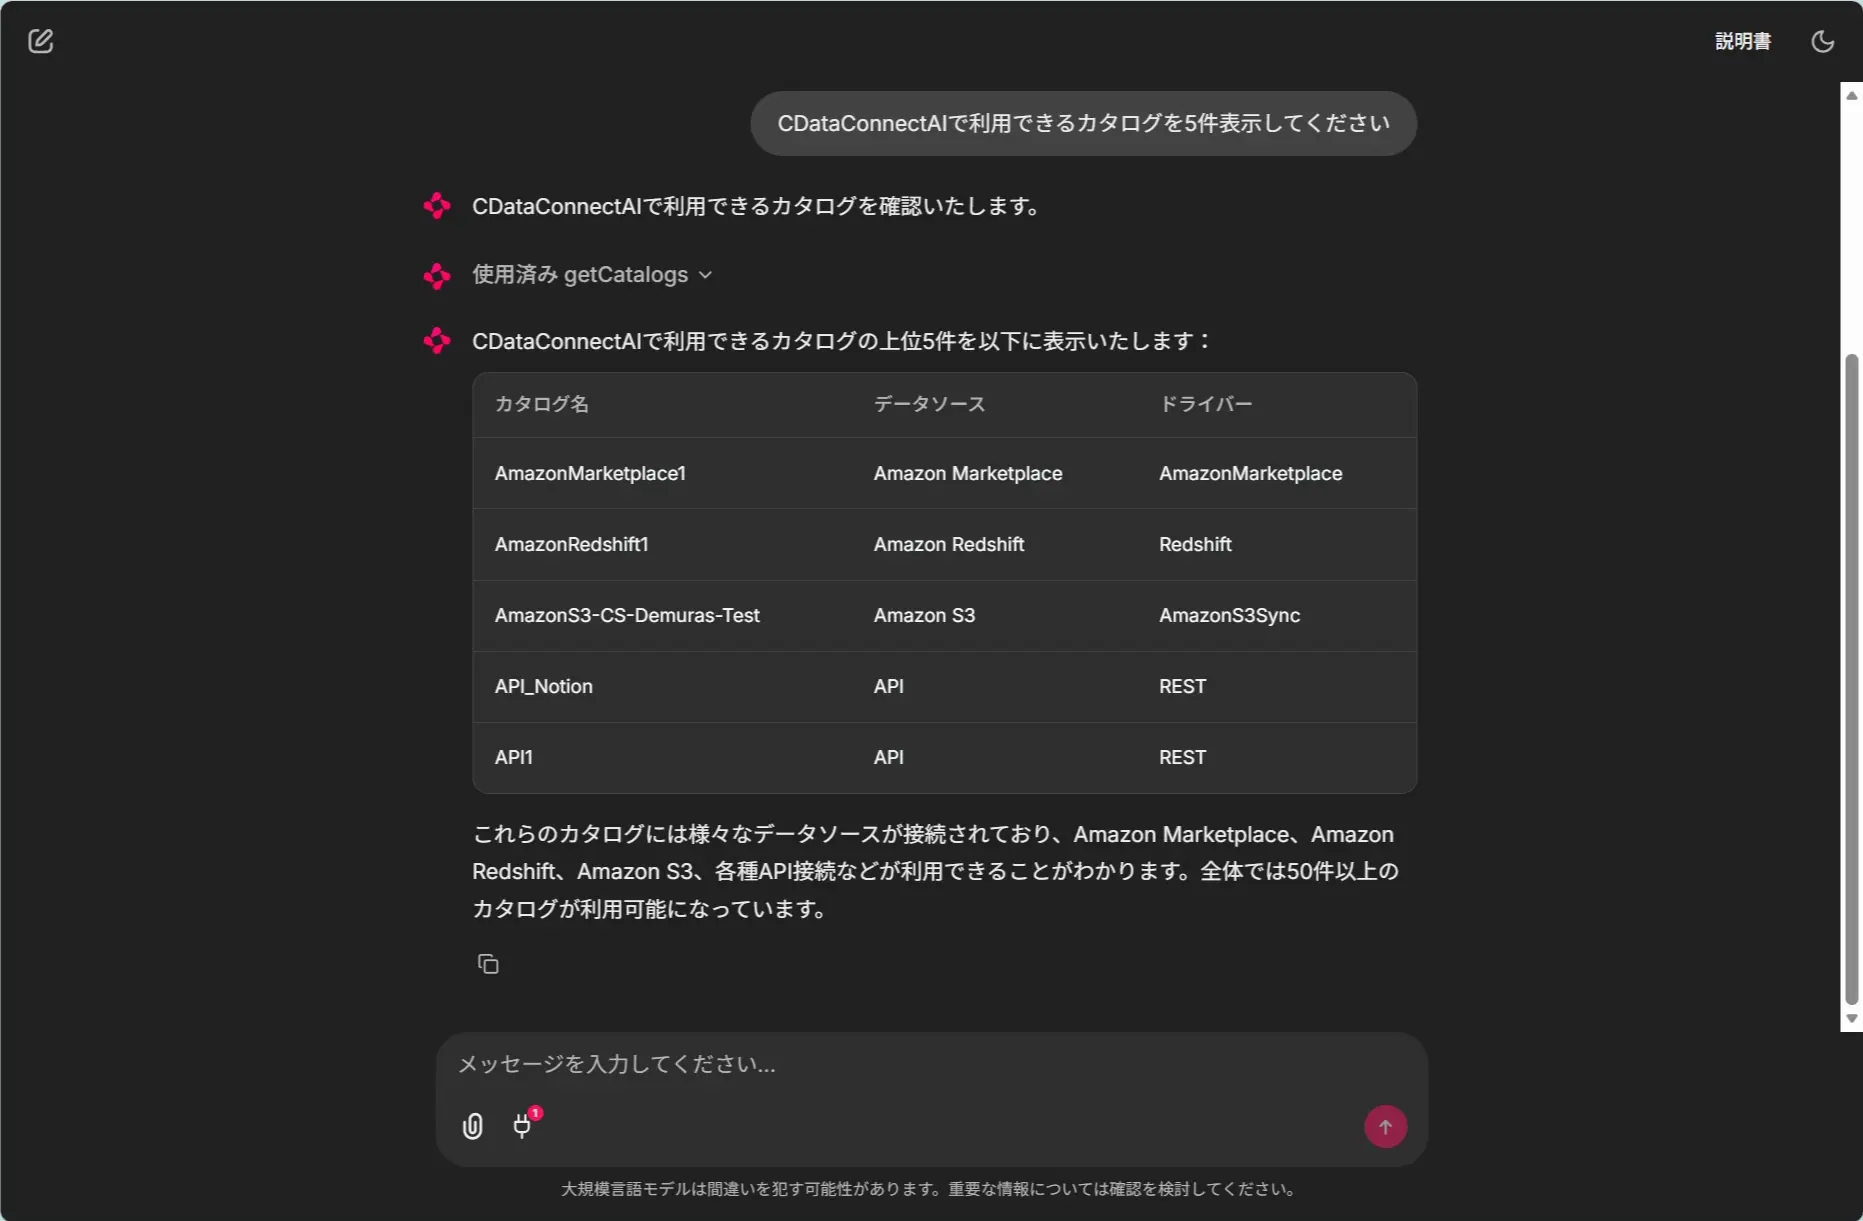
あとは実際に機能を呼び出してみると、テーブル形式でいい感じに表示してくれました。
サンプルコードざっくり解説
さて、ここからはざっくり実装ポイントを解説していきます。
今回はClaude Code 君にも助けてもらいながら、anthropicとmcpのパッケージベースで実装してみました。
Chainlit ではMCP 側の設定UI は標準機能で提供されますが、追加された後のMCP ツール・LLM とのハンドリング方法は実装する必要があります。
まず「@cl.on_mcp_connect・on_mcp_connect」で追加されたMCP を参照し、ユーザーセッションに保持させます。
@cl.on_mcp_connect
async def on_mcp_connect(connection, session: ClientSession):
    """Called when an MCP connection is established"""
    # List available tools from the MCP server
    result = await session.list_tools()

    # Process tool metadata
    tools = [{
        "name": t.name,
        "description": t.description,
        "input_schema": t.inputSchema,
    } for t in result.tools]

    # Store tools for later use
    mcp_tools = cl.user_session.get("mcp_tools", {})
    mcp_tools[connection.name] = tools
    cl.user_session.set("mcp_tools", mcp_tools)

    # Notify user about connected tools
    tool_names = [t["name"] for t in tools]
    await cl.Message(
        content=f"✅ MCP接続 '{connection.name}' が確立されました。\n利用可能なツール: {', '.join(tool_names)}"
    ).send()
LLMとの統合処理部分でユーザーセッションからMCP ツールの情報を取り出し、LLM API をコールする時に、追加パラメータとして渡します。
その後LLM API からレスポンスでtool_useを受け取ったら、「@cl.step(type="tool") async def call_tool(tool_use):」側の処理でMCP のツール側を実行していきます。
@cl.on_message
async def main(message: cl.Message):
    """Handle incoming messages with tool calling support"""
    # Get message history
    message_history = cl.user_session.get("message_history", [])

    # Add user message to history
    message_history.append({
        "role": "user",
        "content": message.content
    })

    # Get available MCP tools
    mcp_tools = cl.user_session.get("mcp_tools", {})
    tools = flatten_tools(mcp_tools)

    # Call Claude
    response = await call_claude(message_history, tools)

    # Handle tool use loop
    while response.stop_reason == "tool_use":
        # Find the tool use block
        tool_use = next(
            (block for block in response.content if block.type == "tool_use"),
            None
        )

        if not tool_use:
            break

        # Execute the tool
        tool_result = await call_tool(tool_use)
ツールの呼び出し部分は以下のような感じにしています。
@cl.step(type="tool")
async def call_tool(tool_use):
    """Execute a tool via MCP"""
    tool_name = tool_use.name
    tool_input = tool_use.input

    current_step = cl.context.current_step
    current_step.name = tool_name

    # Identify which MCP connection provides this tool
    mcp_tools = cl.user_session.get("mcp_tools", {})
    mcp_name = None

    for connection_name, tools in mcp_tools.items():
        if any(tool.get("name") == tool_name for tool in tools):
            mcp_name = connection_name
            break

    if not mcp_name:
        error_msg = json.dumps({"error": f"Tool {tool_name} not found in any MCP connection"})
        current_step.output = error_msg
        return error_msg

    # Get the MCP session
    mcp_session, _ = cl.context.session.mcp_sessions.get(mcp_name)

    if not mcp_session:
        error_msg = json.dumps({"error": f"MCP {mcp_name} session not found"})
        current_step.output = error_msg
        return error_msg

    try:
        # Call the tool
        result = await mcp_session.call_tool(tool_name, tool_input)
        current_step.output = result
        return result
    except Exception as e:
        error_msg = json.dumps({"error": str(e)})
        current_step.output = error_msg
        return error_msg
おわりに
Chainlit 便利ですねぇ。今回はClaude と統合してみましたが、他にもLangChain やOpenAI での実装方法もWebSiteにあるので、ぜひ試してみてください。
https://docs.chainlit.io/integrations/langchain